New Installation |
|
|
|
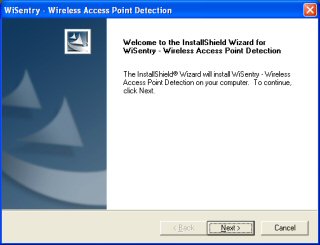
The WiSentry Installer program will start.
Select Next and the License Agreement will be displayed.
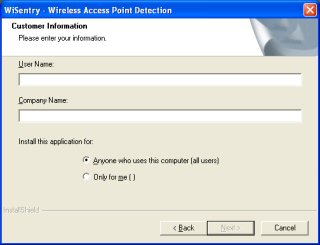
Select Yes and Enter your User Name and Company Name and select Next. You have the option of installing WiSentry for one user or for all users of this machine. Decide this based on how access to your machine is configured...
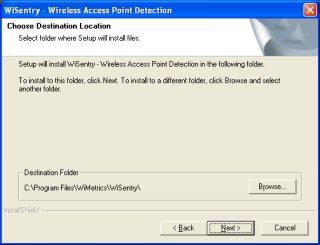
Select where you would like to have WiSentry installed. The default is c:\program files\wimetrics\wisentry.
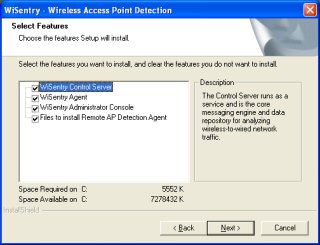
A list of features to be installed is displayed. Installation of all components on a single machine is typical for testing but not typical for most environments. Review Selecting Features for more information on each of the installation options.
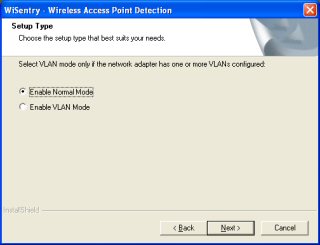
If you have selected WiSentry Agent, you will need to select the operating mode for the installed agent. Normal Mode
VLAN Mode
WiSentry is now installed. To start WiSentry, go to you start menu and select WiMetrics/WiSentry Administrator.
|
|
|

